
Wet Molding Veg Tanned Leather: An Easy Tutorial

Future masters of the hide! Yes, you!
It's time to dive into the wonderful world of wet molding veg tanned leather. If you've ever wondered how to give your leather creations that perfect, custom fit, you're in for a treat.
In this exciting article, we're going to show you a step-by-step guide on wet molding veg tanned leather like a pro in multiple different scenarios so you're prepared for anything when you step into the shop. Get ready to mold, shape, and create true leather masterpieces.
Here we go!
Wet Molding Leather: What's It All About?
Trust us, there's so much more to this technique than simply crafting holsters or sheaths.
Picture a chevron pouch or any other shape you can dream up, and let's bring it to life! But before we get too carried away, let's start with the basics. We'll be working with natural veg tanned leather because, let's face it, it molds like a dream.
We tend to like the 5-to-6-ounce piece of leather for most projects because this more median weight gives you the benefits of both durability and flexibility.
So grab your perfect leather weight, strap on your creativity, and let's make some magic happen!

Crafting the Perfect Mold: Leather and Wood Unite!
Would you believe us if we told you this could be done with nothing but your trusty fingertips?
Let us prove it to you.
Grab a 4x4 inch piece of pine, your 5-to 6-ounce leather, and let's get started. Begin by submerging the leather in water for about 15 to 20 seconds until it becomes delightfully pliable, like a marshmallow on a summer's day.
Once out of the water, let it rest on the table for 5 minutes, allowing the water to penetrate every fiber. And here's the secret: when you come back and find a thin layer of water on the leather's surface, you know you've hit the moisture sweet spot.
Now, take that luscious leather and drape it over the block of wood, aligning the top edges. With your knuckles as gentle guides and your thumbs applying just the right pressure, work those corners and edges, molding and stretching with finesse.
Don't rush the process; it's a delicate dance of artistry and patience. It'll take your leather around 4 to 5 hours to dry completely, so take breaks, sip some tea, and let your masterpiece form.
But if you're feeling adventurous, a round dowel can also join the molding party, giving you a more defined shape. Every 30 to 40 minutes, return to your leather and give it some love, refining and perfecting the mold as it dries.
Mold Magic: Creating Sharp Corners With Style
When it comes to wet molding leather, using only your fingers can result in slightly rounded corners. But fear not, fellow craftsmen, for we have a game-changer: the mighty mold! So let's dive into the realm of mold-assisted wet molding and discover how to achieve those razor-sharp corners that will make your creations truly stand out. Prepare for a wet and wild adventure as we embark on this tutorial. Ready?
Let's mold!
1. The Soak: Where Water Meets Weight
To begin, immerse your 5-to 6-ounce piece of leather in water for approximately 15 to 20 seconds. This transforms it into a pliable masterpiece with the ideal moisture content. Once removed from the water, allow it to rest on the table for about 5 minutes, allowing the water to permeate every fiber. And here's the secret: if a thin layer of water delicately sits atop the leather, you know it's perfectly moist, ready for molding. These initial steps mirror the process of finger molding—so far, so good!
2. Meet the Mold: Wood, Holes, and Shaping Splendor
Behold, our trusty companion—the square mold! Crafted from sanded scrap wood, the "UP" side of the mold is primed for action. Nestled within lies a square-shaped hole, eager to shape your leather. Remember, if you have any edge treatment plans for your veg tanned leather, address them before commencing the molding process. It's best to tackle those details beforehand, saving you from a more arduous endeavor later.
3. Molding Marvels: Alignment, Pressure, and Hammering Fun
Now the excitement begins! Place your veg tanned leather atop the mold, ensuring the top edge aligns with the open edge of the square mold. Take your trusty 4x4 inch piece of pine wood and position it on top of the leather, covering the hole within the bottom mold. Apply gentle yet firm pressure, allowing the leather to conform snugly to the mold's contours.
4. Flip and Hammer: A Power Move
Prepare for a dramatic flip as we turn the mold upside down, introducing the mallet to the equation. Grab your mighty tool and begin hammering the mold's exterior with purposeful strikes. This further refines the shape, yielding a beautifully tight mold.
Leave the leather nestled within its cocoon, allowing it to dry for approximately 6 to 8 hours—or, for a touch of extra perfection, let it bask overnight. When you finally remove it from its mold, prepare to witness the results—a breathtakingly tight and flawless mold awaits you!
5. Finishing Flourishes: Trim, Chisel, and Sew
With your wet forming leather project flawlessly executed, it's time for the finishing touches. Employ your trusty straight edge to trim parallel to the mold, ensuring clean lines and a polished appearance. And let's not forget the chisel holes—meticulously drop them in to prepare your leather for seamless stitching. Stand back and admire your masterpiece.
Finding the Perfect Weight: Balancing Moldability and Durability
When it comes to wet forming leather, the weight of your veg tanned leather plays a crucial role in achieving the desired results. We found that utilizing a combination of 4-to-5-ounce and 5-to-6-ounce natural veg-tanned leather works wonders for our projects. It's a delicate balance between flexibility and strength, ensuring both a beautiful mold and durability.
A Dance of Weights: The Give-and-Take

Imagine a spectrum where lighter weights, such as 2-to-3 ounces and 3-to-4 ounces, grant you exquisite bends and tight corners. However, durability may be compromised in exchange.
On the other end of the spectrum, utilizing 7-to-8-ounce and 8-to-9-ounce veg tanned leather ensures remarkable strength and protection, ideal for holsters. Yet, wet molding leather becomes a challenge with these heavier weights.
To exemplify this delicate dance, let's consider a holster. We opted for a 5-to-6-ounce piece of leather on the exterior to achieve a superb mold. On the back, we introduced an 8-to-9-ounce piece of leather, offering strength to the wings while preserving durability and moldability. This thoughtful combination empowers both function and artistry.
For projects like cell phone cases or watch pockets, where durability takes a back seat to tight corners, a 3-to-4-ounce piece of natural veg tanned leather shines. Its lighter weight allows for easy cutting and shaping, offering the freedom to customize with a knife.
Crafted Excellence: Fusion of Strength and Flexibility

Let's take a standard sheath as our final example. The main body benefits from the pliability of a 4-to-5-ounce piece of veg tanned leather, while the tip and throat demand a touch more durability which can be achieved by introducing a 2-to-3-ounce piece of leather on both ends.
With wet forming leather, you must embrace the versatility to find the perfect combination.
Avoiding Pitfalls: Rigidity without Definition
Now, a word of caution. When crafting a holster, refrain from using two 6-to-7-ounce leather pieces back-to-back. While it may provide a snug fit for your firearm, it lacks the molding definition on the outside, leaving you with a rigid result. Remember, finding the right balance is key to achieving both functionality and aesthetics.
Newsflash: You're NOT A Woodworker!
You don't need to be a woodworking maestro to find success in wet molding leather. In fact, the material you know and love, the leather itself, can be your ultimate mold-making tool.
How, you ask? Great question!
From Scrap Leather to Successful Creation: Mold, Shape, Create!
At our workshop, we follow a simple principle: if we bought the leather, we'll find a way to use it. Every piece holds potential, and by stacking multiple leather pieces of different weights, secured with trusty contact cement, we craft molds that are as unique as our creations.
Use your imagination to incorporate extra leather that adds a touch of personal flair to your molds, elevating your projects to new heights of individuality.
The beauty of using leather molds knows no bounds. Whether you're dreaming of crafting pouches, pin cases for your briefcase, or a sleek cell phone case, your trusty stack of leather will bring those visions to life. No need to sacrifice your expensive smartphone as a mold when you have the perfect alternative at your fingertips!
As a bonus, the more projects you complete, the more your leather molds will harden. This allows your leather molds to become an essential ally for precise cuts and effortless designs. Alright, you have a ton of general information about the magic of wet forming. Now let's focus on some specific projects for you to tackle.
Crafting a Wet-Formed Leather Sheath: A Knife's Perfect Fit
Let's take it step by step as we mold this project, bit by bit.
Part 1: Soaking in Moisture Magic
Begin by submerging your prized piece of leather into the water for a 30-second soak, ensuring it absorbs the ideal amount of moisture. Gently lifting the leather from the water, allow it to rest for approximately 10 minutes, granting the water a chance to permeate every fiber.
Part 2: Tape and Protection for a Pristine Process
Before delving deeper, let's secure your knife's integrity. Carefully and evenly place a vibrant 1-inch piece of tape at the top of the knife, creating an unmistakable indicator for later use. To safeguard your cherished blade, consider adorning it with a shield of protective packing tape.
Part 3: From Throat to Edges—A Masterful Formation
Align the throat of your leather sheath with the tape-adorned pinnacle of your knife. Using the knuckle of your index finger, press the leather into the sides of the knife, while simultaneously exerting pressure from above with the pads of your thumbs. Engaging in this tactile dance, allow the leather to stretch and conform, creating a crisp and artful form around the edges. Devote around 5 minutes to meticulously work the corners and bends, ensuring an impeccable fit.
Part 4: Patience and Perfection—A Balancing Act
With your craftsmanship taking shape, let the sheath sit and dry for 15 to 20 minutes. Return and invest an additional 5 to 10 minutes in refining the mold, allowing its tightness to grow. Another 15 minutes of rest and drying time follow, before resuming your work. Finally, let your project sit for approximately 5 to 6 hours, allowing it to dry completely.
Part 5: Guiding Lines—A Pathway to Precision
When your sheath is dry, flip it over, with the indented side facing upwards. Grasping a pen, draw a guideline approximately 3/8ths from the start of the indention, tracing its path around the sheath. This precaution ensures room for error as you continue this wet molding leather project.
Part 6: Bonding with Precision—Glue, Clips, and Consistency
With your grooves and chisels in place, let's secure the final stages of your sheath. Grab your trusty Leathercrafter's Cement and carefully apply it inside the guideline you created. Lay the backside of the sheath atop the glue, aligning it seamlessly against the throat.
Remember, these two pieces will separate slightly, ensuring a snug fit for your beloved knife. Employ the aid of two clips, fastening them on each side of the sheath's top, around the 3/8th mark, to prevent excessive movement during the drying process. Distribute additional clips every two to three inches along the perimeter. Allow the glue to set for approximately 10 minutes.
Part 7: Unveiling Perfection—Clips Off, Edge On
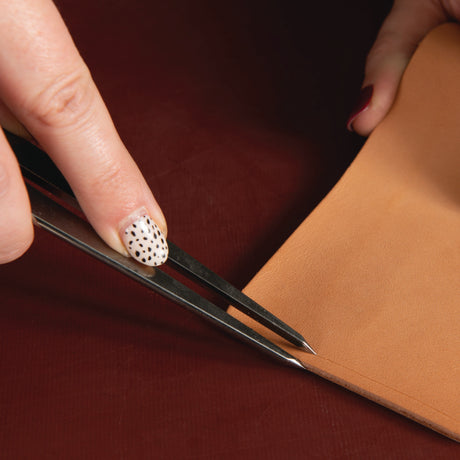
Once the glue has dried to perfection, gingerly remove the clips, revealing a marvelous, consistent edge encompassing the backing of your sheath. Now, position the sheath along the edge of your cutting table, utilizing the backing as your trusted guide.
Armed with a fresh and razor-sharp knife blade, make precise cuts all around the sheath, ensuring a beautifully defined edge. Should your corners require a touch-up, fear not, for you can always revisit them later, sanding and trimming to reach the pinnacle of perfection.
Part 8: The Art of Grooves and Chisels—Lines with Character
Now, head over to your punch table.
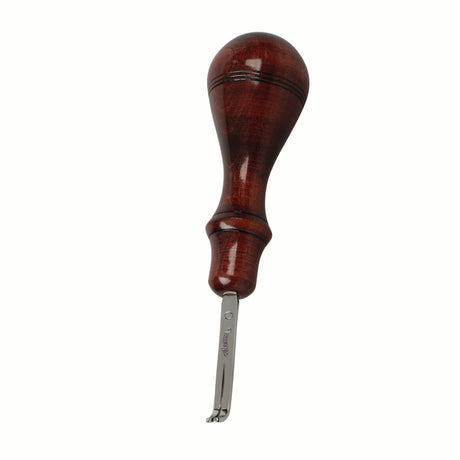
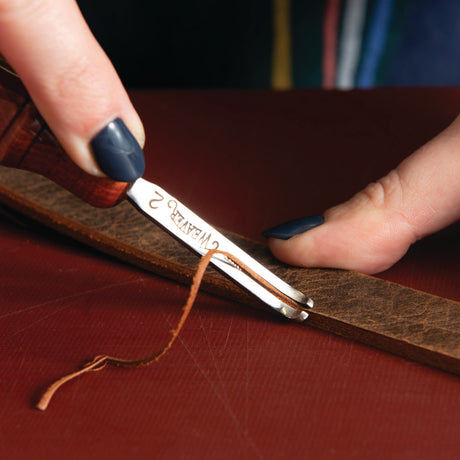
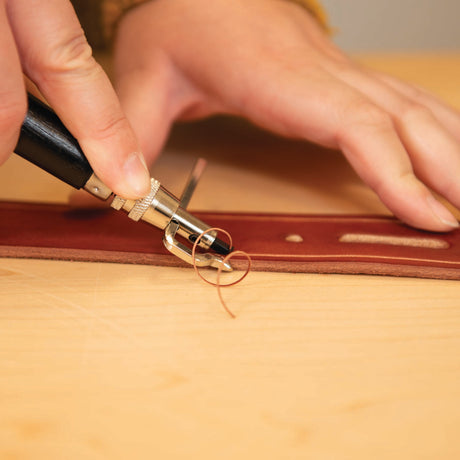
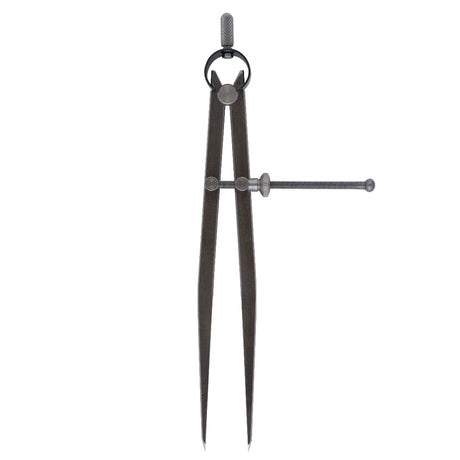
Typically, a groove line of approximately 1/8th of an inch (a hair under 3 mm) is ideal. To achieve this, mark your stitch groover at around 3.1 mm. If your groover's guide arm interferes with your molded project, you can use a wing divider instead. Begin at the throat of the sheath, diligently etching the groove and working your way around its entire circumference.
With the groove line complete, equip yourself with a double-prong, 1/8 inch flat chisel from the Lacing 1/8 inch 4-piece Chisel Set. However, you now face the challenge of combining a 4-to-5-ounce piece of leather with an 8-to-9-ounce counterpart for your sheath.
Fear not, for you are ready to overcome this obstacle.
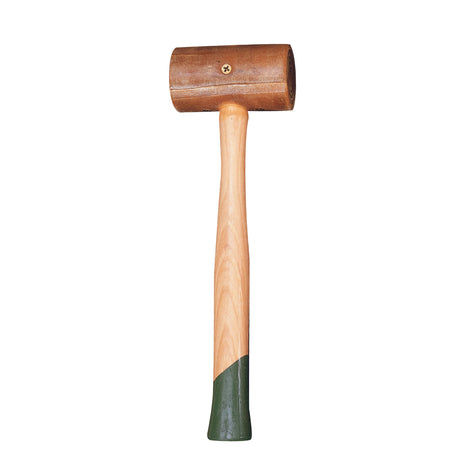
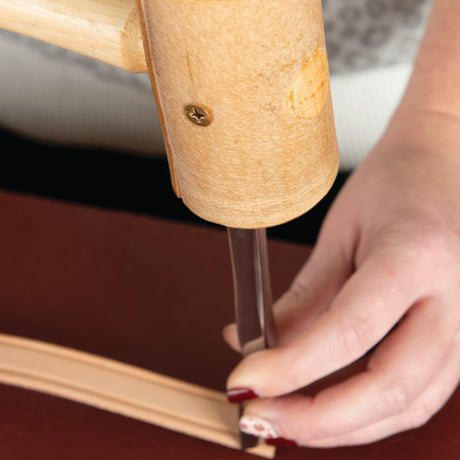
Plunge your chisel into the groove line, summoning the mighty force of the 11-ounce Rawhide Mallet to create enticing indents all around the sheath. Maintain a vertical alignment, avoiding any inclination that might lead to your chisel slipping out of the leather. Patience is key during this process, as you delicately work your way through. For the corners, rely on a single-prong chisel, granting your holes an appealing angled charm, and ensuring consistency throughout.
Part 9: Beveling and Perfecting—Edges that Shine
Revel in the nearing completion of your masterpiece. Begin by beveling the front side of your sheath, crafted from the 4-to-5-ounce leather, using the Master Tool Edge Beveler in size #1. As you deftly navigate the contours, a sense of satisfaction envelops you. Now, with a graceful flip, traverse to the 8-to-9-ounce leather side, employing the Master Tool Edge Beveler #2 to refine and polish the edges. Witness your sheath taking its final form, a testament to your dedication and skill.
Let Your Creativity Flow: Decorative Leather Bowls For Every Season
Get ready to embark on a journey of leathercrafting delight as we guide you through creating two captivating leather bowls: the enchanting Fall Leaf Bowl and the stylish Simple Valet Bowl.
With minimal skill required and just a few essential tools that can all be found at Weaver Leather Supply, you'll soon discover that the possibilities for design and decoration are limited only by your imagination.
Beyond Decor, Endless Design Possibilities
Not only can these leather bowls add a touch of charm to your home decor, but they also serve as a blank canvas for endless design options. From whimsical gargoyles and majestic dragons to equestrian wonders and even miniature car and motorcycle replicas, let your creativity soar high as you bring your wildest ideas to life.
Let's begin with the foundation of your masterpiece—the pattern.
For the Fall Leaf Bowl, simply take a paper plate and attach plastic tubing to mimic the delicate veins of your chosen seasonal leaf. Remember, anything with a flat bottom can be your mold.
Pattern Play: From Paper Plates to Glass Bowls
Now, let's turn our attention to the sleek and practical Simple Valet Bowl. Using a household valet with a flat bottom, trace your pattern to create the desired circumference. Don't have a wing divider? No worries—flip your bowl over and trace its outline onto a piece of paper. Voila! Your pattern is ready to go. Cut it out with precision, and discover the symmetrical beauty that awaits.
Our personal favorite, the Leaf Bowl, brings nature's elegance to your craft. Find endless inspiration online by searching, "Leaf Silhouette Images". Enlarge the image to fit your bowl size and fold the printed paper in half to ensure a symmetrical outcome. As you cut out your paper leaf pattern, embrace the organic imperfections that add a natural touch to your creation.
Now, let's dive right into cutting the leather!
Lightweight Bends, Lasting Durability: Cutting The Small Round Bowl
For the small round bowl, we recommend using a 4-to-5-ounce piece of leather, ensuring a thickness of about 1.7 mm. This weight strikes the perfect balance between flexibility and durability. When bending the leather at a 90-degree angle to form the bowl shape, a lighter weight is ideal. However, it's crucial not to go any lighter than 4 to 5 ounces to maintain structural integrity.
Embrace the Thickness: Cutting The Majestic Leaf Bowl
In contrast, the larger leaf bowl allows for more versatility in weight selection. We suggest using an 8-to-9-ounce piece of leather, approximately 3.5 mm thick. However, you can opt for a slightly heavier weight, such as a 9-to-10-ounce piece, without compromising durability. With a flat bottom and minimal bending required, the leaf bowl grants you more freedom to experiment.
Affordable Excellence: Weaver Select Panel
To acquire the perfect leather for your bowls, we recommend the 12" x 24" Weaver Select Panel, available in the 4-to-5-ounce weight range. This panel offers exceptional quality at an affordable price. While copy paper may not be ideal for patterning, it's a readily available option for tracing.
Simply flip the small bowl itself, trace its outline directly onto the leather using a pencil or pen, and ensure your cut is just slightly inside the ink line for precision.
For the main leaf bowl, take the copy paper pattern you previously cut and place it on a leather panel of the same size. Trace the outline with your pen, and then begin cutting the frame by starting from the inner point and working outward. Don't hesitate to make multiple passes with your knife for a clean cut, adjusting the blade angle on the second pass for greater control.
Embrace the imperfections in the leaf's edges, as they add a natural and captivating touch to the final design. With your cutting tools in hand and the perfect leather selected, you're ready to shape and mold your bowls into works of art.
Express Your Style: Stamping and Adding Flair to Your Leather Bowls
Whether you prefer simple elegance or intricate designs, decorating your leather bowls is the perfect opportunity to add a personal touch.
Elevate Your Valet Bowl: Stamping with Precision
Case the natural veg-tanned leather before you begin stamping. Take a sponge, dampen it with water, and gently wipe the top of the leather to ensure only the top is moistened.
To start your consistent stamping, use an 8-inch wing divider to create a light borderline about ¾ inch inside the bowl's edge. This distinctive line will serve as a visual guide for your design. With your Floral Stamp facing towards you, use the 11-ounce rawhide mallet to create a crisp and consistent impression. Continue stamping around the border, ensuring each stamp meets properly as you close the circle. Adjust the gaps between stamps as needed.
Next, focus on the center of the leather.
Using the Flower Stamp with six petals, carefully place it in the middle and tap it with the rawhide mallet to reveal every intricate detail. Extend the beauty of the flower by using a Continuous Mulesfoot tool to create petals radiating from the center. Now, let your bowl dry!
Veins Alive: Enchanting Leaf Patterns
Prepare the leaf leather by casing it with a damp sponge. Wipe the leather until you achieve a consistent and slightly deepened color across its surface. This color change is visible when the water takes a moment to wick into the leather. Allow the leather to sit for approximately 15 to 20 minutes to ensure the water penetrates the thicker piece fully.
To add veins, refer to your copy paper pattern and mark the point where all the veins originate near the stem of the leaf. Using a straight edge, draw lines from this mark to each leaf point. Let your imagination run wild as you mimic and create vein lines based on the pattern.
Embrace your artistic freedom and choose the level of detail that resonates with you. Feel free to mark every point or follow the natural flow with your eyes, adding a touch of spontaneity to your design.
With stamps and veins in place, your leather bowls are one step closer to becoming unique works of art. Stay tuned as we quickly come to the end of our wet molding journey.
Form and Dry: Bringing Your Leather Bowls to Life
It's time to take your wet-molded leather bowls to the next level by ensuring they dry properly and maintain their desired shape. Let's go!
Water and Dye: The Perfect Combination
To achieve optimal results, wet forming is best done with water followed by dye. Begin by submerging your leaf bowl in water for approximately 20 to 30 seconds, allowing the leather to become slightly heavy.
Conversely, the smaller round piece of leather (4 to 5 ounces) only requires a quick 5-second dip as it becomes highly pliable in no time! After the initial soak, give both pieces of leather around 15 minutes for the water to permeate and any surface moisture to evaporate.
Ready, Set, Form!
When you return after 15 minutes, the leaf leather should be pliable but not overly flimsy. If your small round bowl still feels too flimsy, allow it a bit more time to dry. Begin by working with the leaf since it's ready for molding.
Place the leaf pattern in the larger bowl, ensuring you avoid leaving any fingernail indents in the wet leather. Use the pads of your thumbs to press the leather down and gently shape it to fit the bowl, even curling the ends slightly.
Continue applying pressure and working the ends of the leaf into the bowl. Once done, let it dry inside the bowl for approximately 4 to 5 hours, followed by an additional hour outside the bowl.
Repeat the same process for the small round bowl.
Position the leather in the bowl and carefully work it into shape, paying special attention to pressing down the top edges to prevent rippling. Mold the ends of the leather into the bowl for a couple of minutes. Like the leaf bowl, allow this one to dry for about 4 to 5 hours.
Achieving the Perfect Dryness
After the drying period, check your bowls to ensure they are completely moisture-free and thoroughly dry. If you desire additional stiffness, you can paint the backs of the leather with leather firmer.
Alternatively, once the bowls are halfway dry, place them in an oven set at a low temperature (around 200 to 210 degrees) for approximately 20 minutes. After removing them from the oven, allow the bowls to sit undisturbed for 3 to 4 hours to ensure they are thoroughly dry.
With the drying process complete, your leather bowls are almost ready to be admired and cherished. Go to our website here to learn how to put the finishing touches on your bowls using our tried-and-true dip dyeing techniques.
Prepare to showcase your craftsmanship and marvel at your wet forming leather success!
Leathercrafters, Go and Mold!
So, dear leather artisans, it's time to shed the constraints of traditional molds and embrace the extraordinary possibilities of your craft now that you're a pro at wet forming leather.
Let your leather be the catalyst for innovation, giving shape and form to your wildest ideas. With every mold you create, the boundaries of your creativity expand.
Now, pick up your scraps, find your perfect leather weight, and let the magic unfold!
Suggested Products
-


CHAHINLEATHER® Veg-Tan Leather Panel
From $41.00Unit price /Unavailable -
 $57.00Unit price /Unavailable
 -
 $35.00Unit price /Unavailable
 -


Fiebing's Leathercrafter's Cement
$6.25Unit price /Unavailable -
 $21.50Unit price /Unavailable
 -
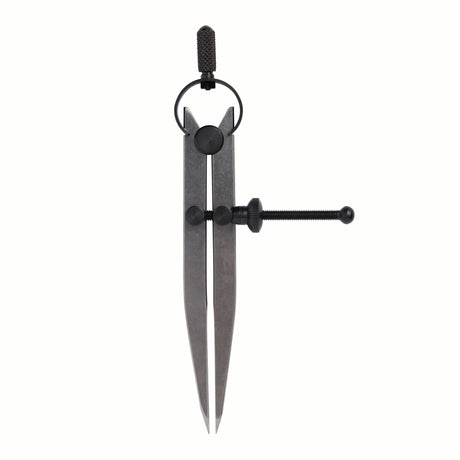
Quick-Release Wing Divider, 4"
$15.30Unit price /Unavailable -
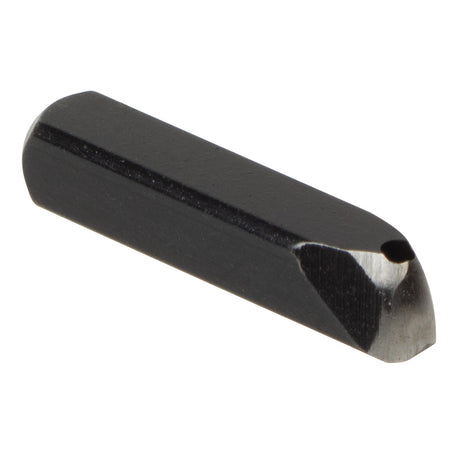
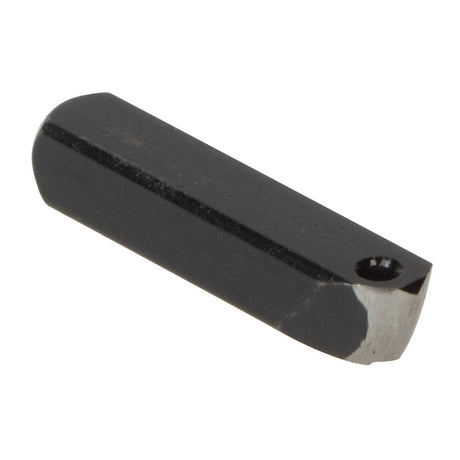
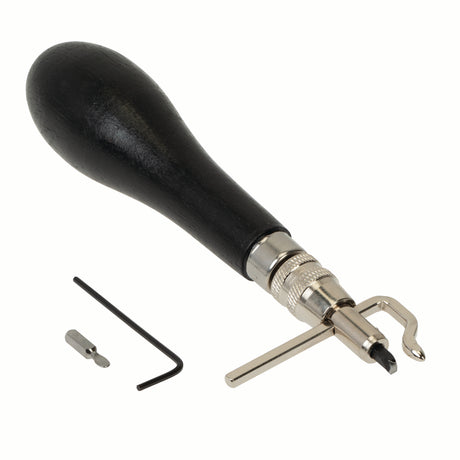
Replacement Blade for Stitch Groover
$12.80Unit price /Unavailable -
 From $85.00Unit price /Unavailable


