
How To Easily Make A Leather Shop Apron For Beginners


Ruining your clothes while mastering your leatherworking craft isn't the way to go…
But what choice do you have? Fear not!
Today we're going to show you how to make your very own leather work apron that will not only protect your clothes but also make you look like a pro in the workshop. This DIY leather apron boasts a front chest pocket and two side pockets to store all your tools and gadgets. It's also made from high-quality Pines Milled Leather but feel free to explore some other options that we'll discuss below to select the just right leather for you. Plus, it's easy to make - even for beginners!
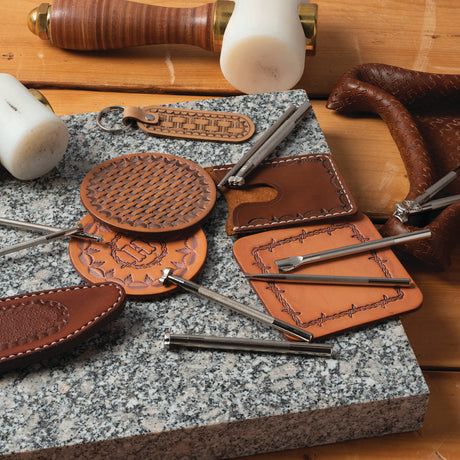
And if you're feeling extra fancy, you may want to go the extra distance and add decorative touches like a Spanish basket weave and spots in your favorite design and finish.
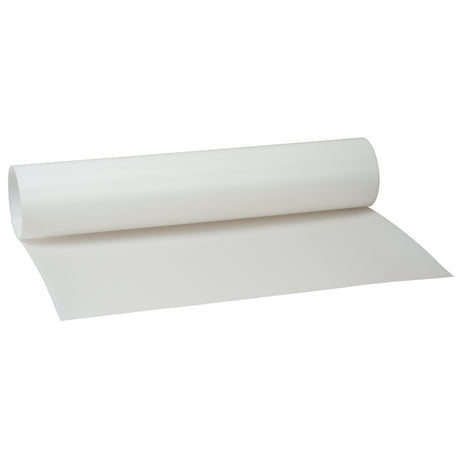
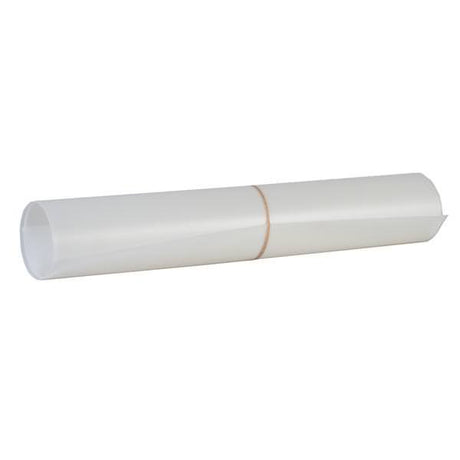
Start by grabbing some shipping paper from your last leather order from Weaver Leather Supply. This paper gets a great second life as pattern paper. Here's a quick note that should get you excited for your next project. Using the 24" x 45" shipping paper, you can create a paper leather apron pattern that can easily be transferred to high-quality plastic sheeting for a pattern you can use again and again. How convenient is that?
Enough with the lead-up, let's get started on making the ultimate leather apron!
Get Back To The Basic Dimension
Alright, leatherworkers, listen up!
When it comes to making the perfect leather apron, the dimensions are crucial. Don't worry, we're not going to make you do any complicated math - just follow these simple guidelines. First off, for the waist width, you want to go two-thirds your waist size.
That way, you won't have a tight and uncomfortable leather shop apron when you're working on your latest masterpiece. Speaking of bending down, make sure the apron isn't too long either - you don't want it binding up behind your knees and making you look like a walking disaster.
And let's not forget about the pockets - you've got options! Pen pocket, knife pocket, billet, and chest pocket - make 'em fit your needs. After all, this apron is all about you and your style. So grab that leather apron pattern paper and get measuring!
With Leather… You've Got Options!

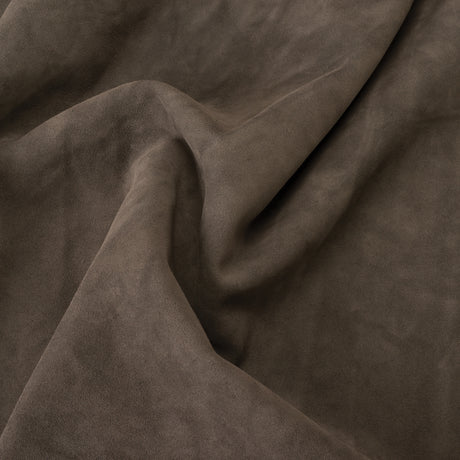
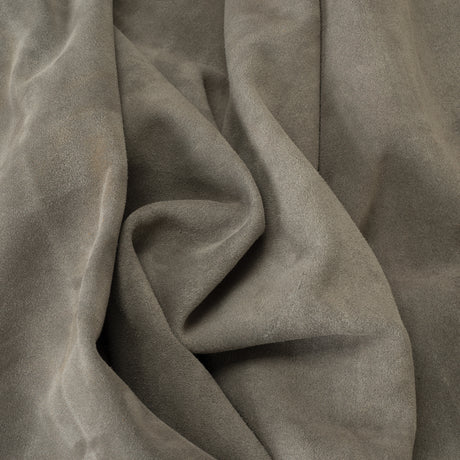
Fortunately, you've got a few different materials to choose from. First up, we've got the "apron split" - a sturdy, 7-8 or 8-9 ounce suede material that's perfect for blacksmiths who need some serious body protection.
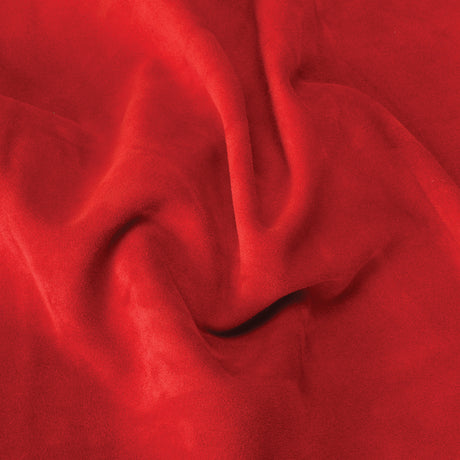
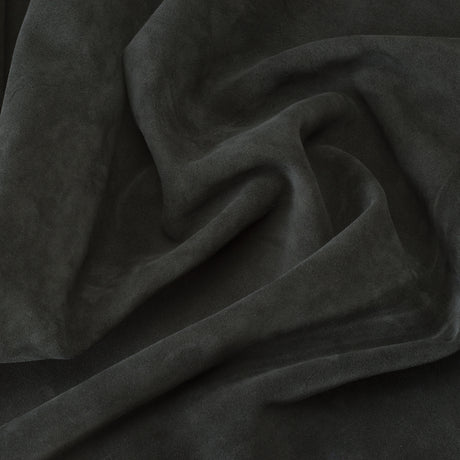
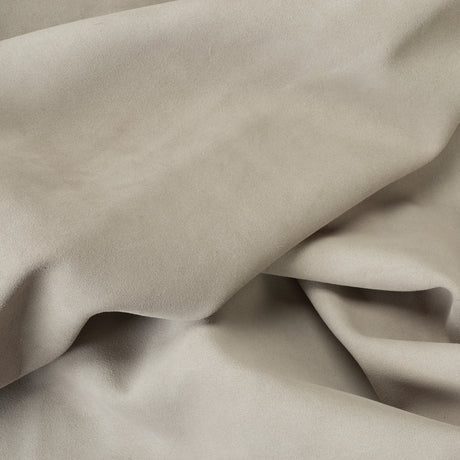
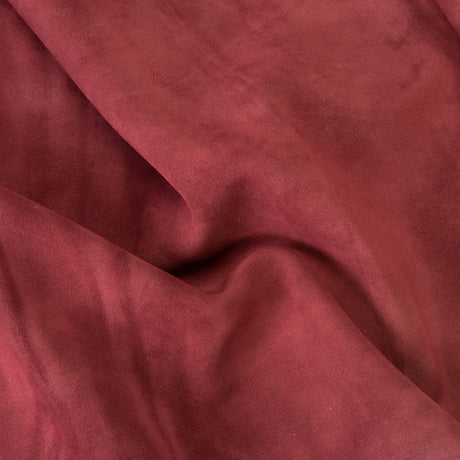
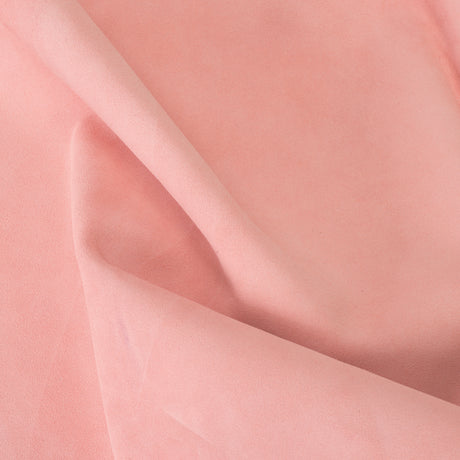
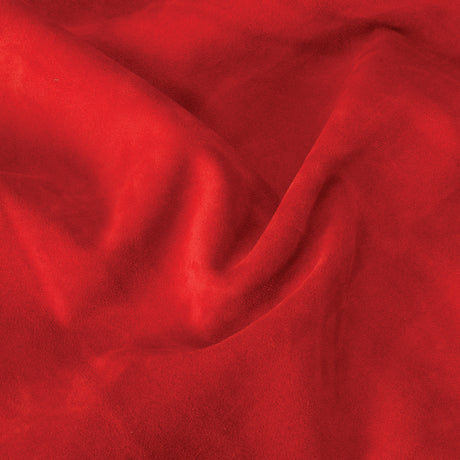
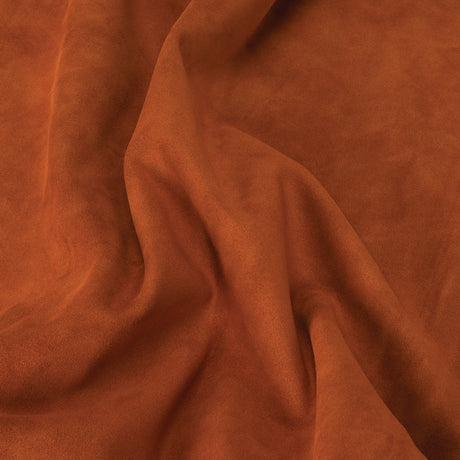
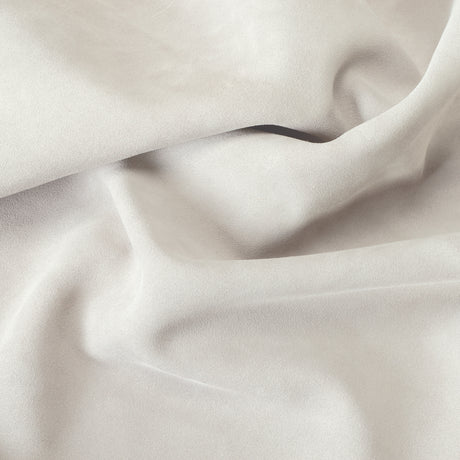
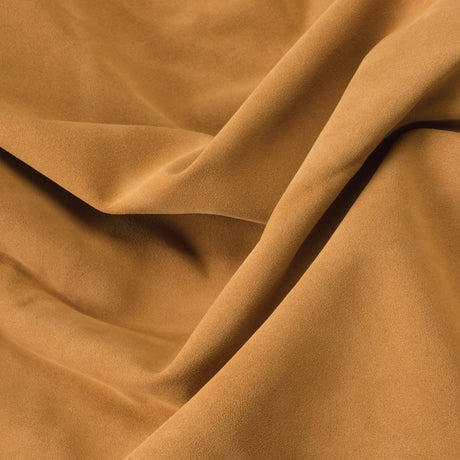
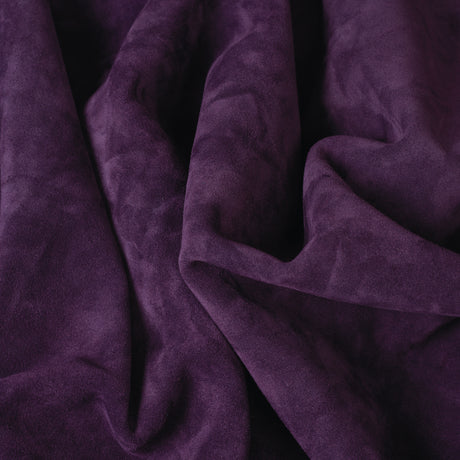
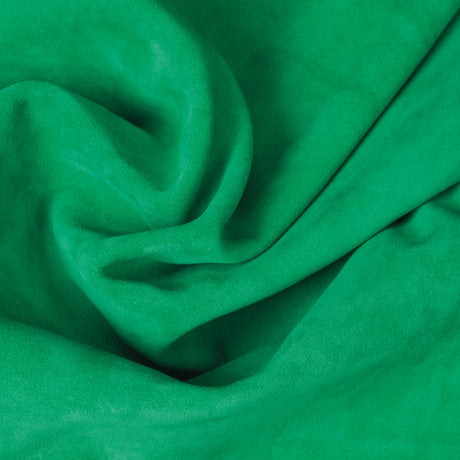
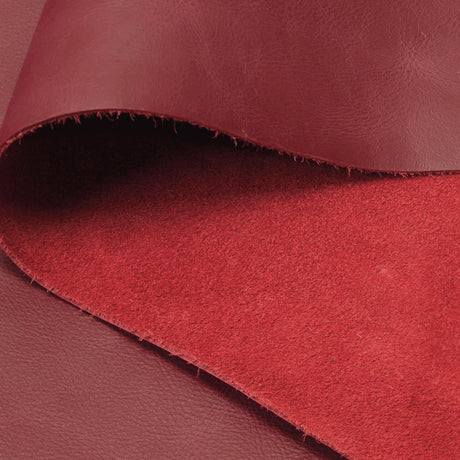
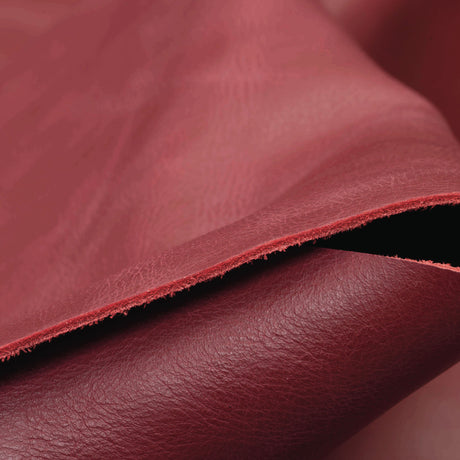
But let's be real, if you're not working in a forge all day, this heavy material might be a little too restricting for everyday use. If you need something a little more flexible, try cowhide suede chap splits - they're a lighter 3-4 ounces and come in a rainbow of 21 gorgeous colors.

Picture a sultry, dark body with vibrant, eye-catching pockets - now that's a statement apron! And if you're really looking for top-notch protection, consider the water buffalo leather - it's not the most comfortable material, but it'll keep you safe from just about anything.
Choose your leather wisely and get ready to cut that apron like the leatherworking pro you are!
How To Cut Like A Pro Crafter

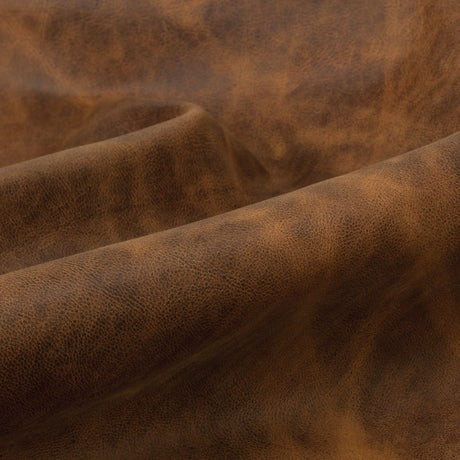
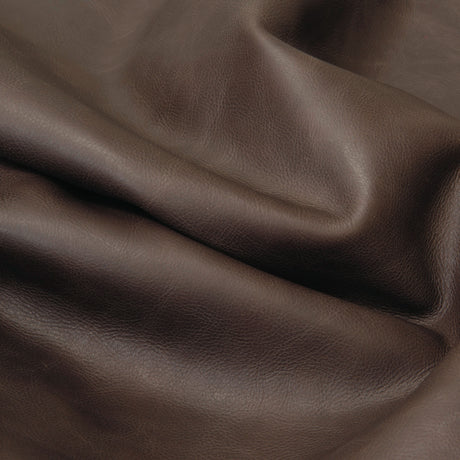
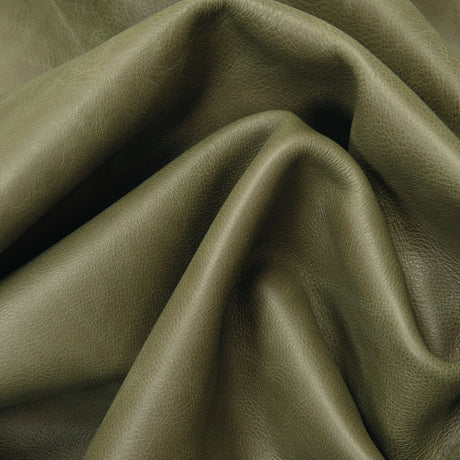
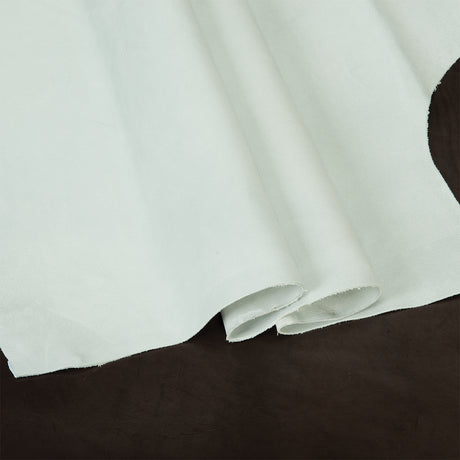
First, we recommend using the Weaver Select Pines Milled Leather. It's light, supple, and distressed, making this 3-4 ounce leather perfect for an apron. If you want more protection, you can opt for heavier leather, but trust us, this one's a winner.
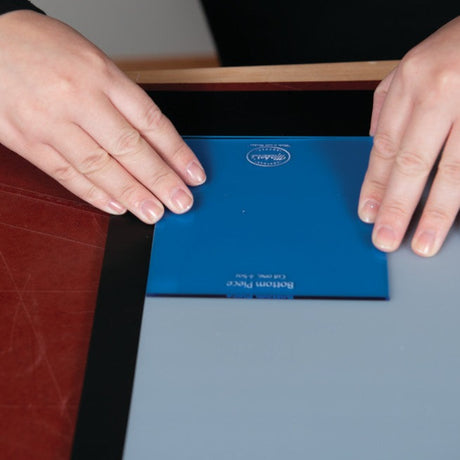
Begin by placing your leather apron pattern on top of your chosen piece of leather. But wait! If you want that trendy, torn-edge look, make sure to align the bottom of the leather apron pattern with the bottom edge of the leather and avoid marking the bottom edge. Download your pattern on the Leather Shop Apron project page.
Or Download them here:

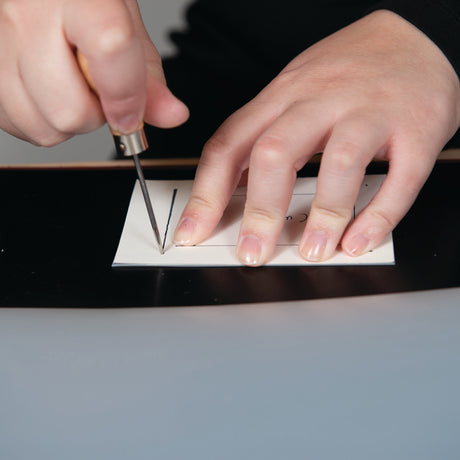
Now, grab your scratch awl tool and mark the outside dimensions and holes of the pattern onto your chosen piece of leather. To make it easier, mark the holes in black and the pocket holes in red, so you don't get them mixed up. This step is crucial!
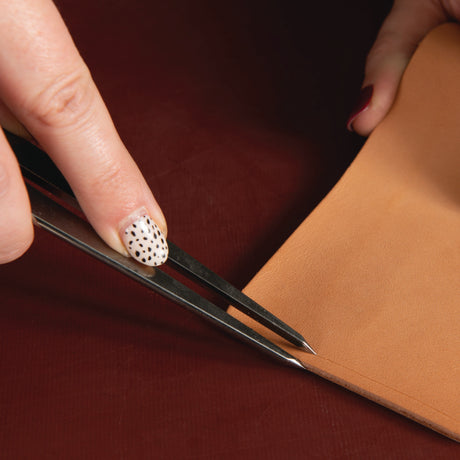
Next, take your straight edge of choice and cut along the marking indent you previously made in the leather. Pro tip: use a smaller piece of leather to cut out your pockets and billets.
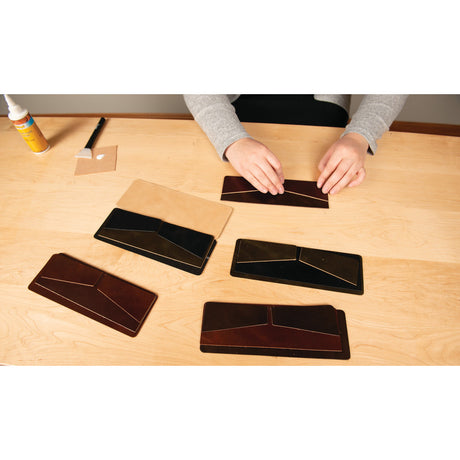
Trace the pocket and billet patterns onto the leather, using the scratch awl tool, and be as efficient as you can. Oh, and if you want to spice up your chest pocket, place the top, flat edge of the pattern about an inch away from the straight edge of the leather. Once you cut out your chest pocket, you can fold over that extra inch to give the pocket a cool flair.
Now, let's cut the lace. Cut four pieces of 0.5" wide lace. Using a straight edge, square up the edge of the leather to make sure it's straight. Then, come in about 3/8" from the edge of the leather, giving you ample width to tie these pieces and cut rivets. Cut four pieces that are 3/8" wide and as long as you want them to be.
Let's go back to the four billet pieces we cut out earlier to add some holes.
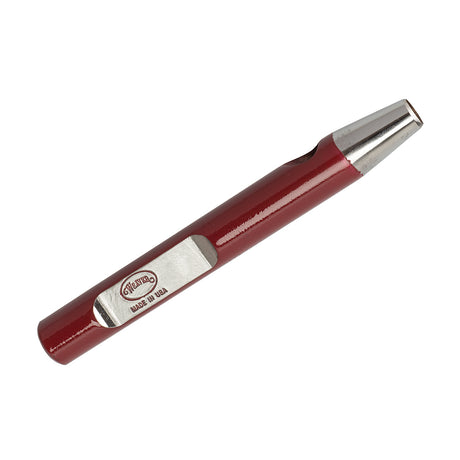
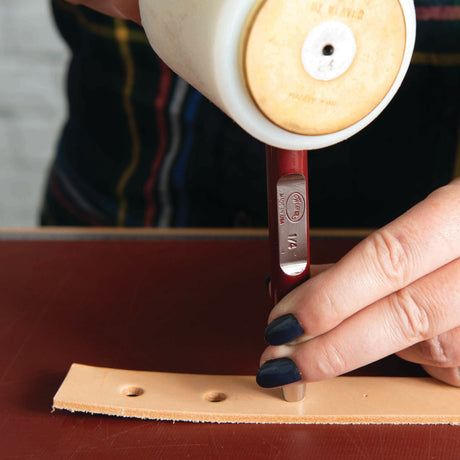
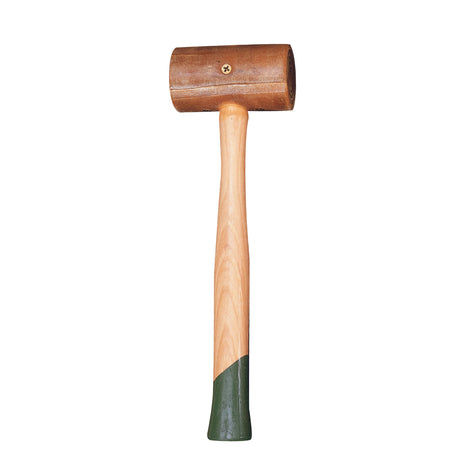
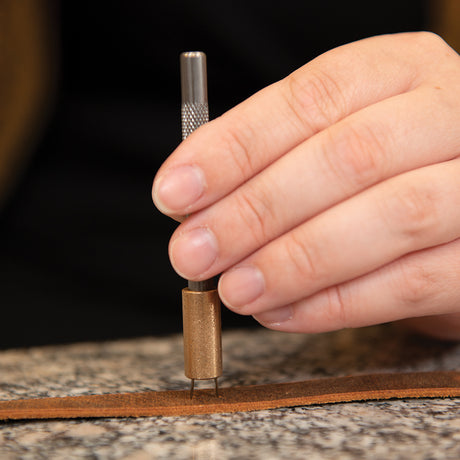
Once everything is cut out, it's time to punch some holes! For the billets, use a 1/8" Master Tools Belt/Round Hole Punch and punch 4 holes each by tapping it with your rawhide mallet.

On the end of each strap, punch 4 holes so you can wrap the lace (strap) around a D-ring. For the main body of your apron, punch 8 holes (2 on each side and 2 on the neck) with the same 1/8" hole punch.
Make sure to follow the marks you made earlier and come in 0.5" from the end of each lace and make a mark with the scratch awl tool. After that, come in 3/4" and make another mark to give the two rivets a little spread.
From there, come in 2" to give the D-ring ample room to move around. Then, finally, add another mark 3/4" out from that mark. Now, punch all of these holes with the same 1/8" Master Tools Belt/Round Hole Punch.
And that's it! With all the holes punched, you're ready to move on to assembling your apron.
Secure The Pockets: Glue, Sew, Or Both!
Congrats, leatherworker! All your hard work is starting to pay off and you're well on your way to a beautiful finished leather project! It's now time to add pockets and other custom touches to personalize your leather apron and make it your own.

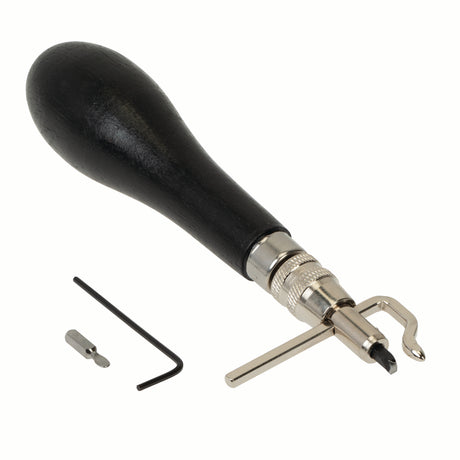
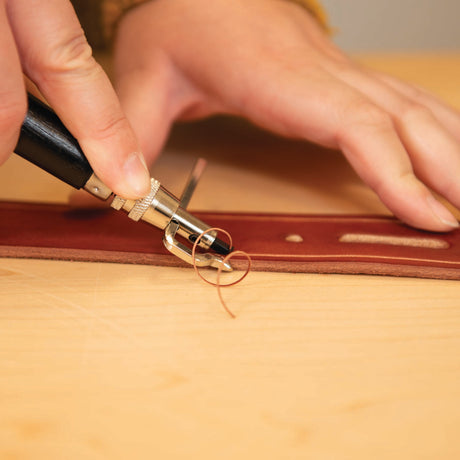
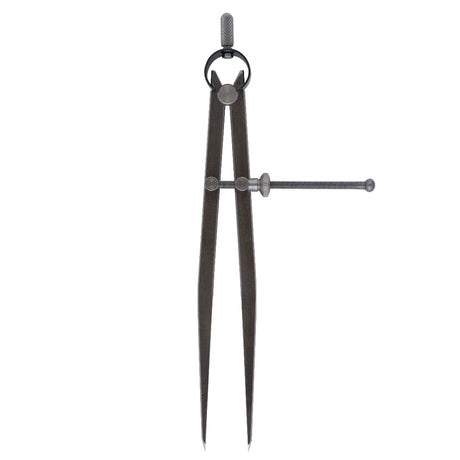
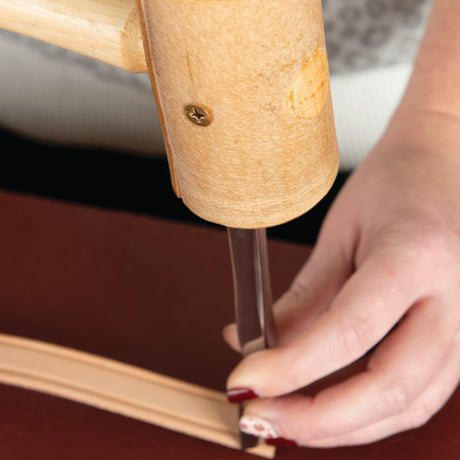
First, to sew leather like a pro, you'll need to create a guide around the edges of the leather pockets. A stitch groover is the perfect leatherworking tool for this task. With a sharp blade, a stitch groover helps you cut neat, tidy grooves for your stiches. Don't have a stitch groover? A wing divider will work just as well. Just remember not to add a groove to the top of the pockets!

The best part about this step is that you don't need an amazingly straight groove line because the thread is going to cover it up, and the stitching chisel is going to keep the line straight for you!

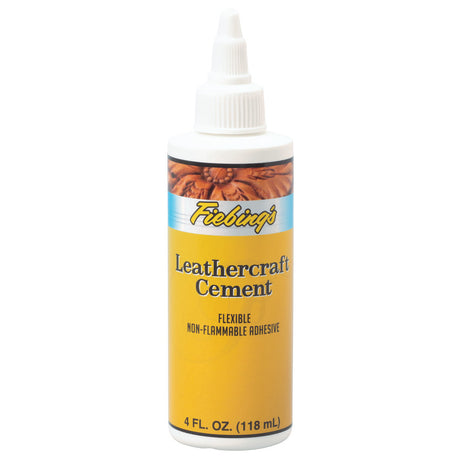
Now it's time to glue down the pockets and use a stitching chisel. Turn your pockets over to start the gluing process. Use Fiebing's Leathercrafter's Cement to tack your pockets down temporarily. You only need the pockets to tack long enough for you to get a stitch line in, so this glue is perfect for the job. If you want a sturdier bond, you can also use Contact Cement. The choice is yours!
Apply the glue to all sides of the pocket except for the throat (the part where your hand goes in!). You don't want to glue that down, or your pocket will instantly become an unusable decoration.
After the glue is applied, push the pockets to the side and pull out the main body of your apron. Lay the main body out flat and lay each pocket down in the designated areas you previously marked.
If you have any glue spilling out the ends of your pockets once you push the pockets down, you can wipe it off with the awl or wait for it to dry, and then it'll roll right off. Now, give that 5 minutes to dry.
After 5 minutes, jump over to your pattern table to drop in your chisel line. We recommend using a 1/8" Flat Chisel. This looks just like a machine stitch, and with that sized hole, it'll be very easy on your hands to sew. It's important not to start outside of your pocket because it puts the stitch very out in the open, making it wear down easily. Instead, start right on the outside, bump your first tine right up against the top throat of the chest pocket, drop the stitching chisel right into your groove line, and tap it in with your mallet.
As you work your way down the side of the pocket, place the first tine in the last hole you punched. Once you get down to your corner, you can use the flat chisel with three tines to make sure your last hole lines up perfectly with the corner of the pocket. Complete this same process on the three, non-throat sides of the chest pocket. Once you've done that, drop in one chisel flat across the point of the chest pocket to make sure all of your holes come out clean and defined. You can complete this process for the rest of your pockets the exact same way.

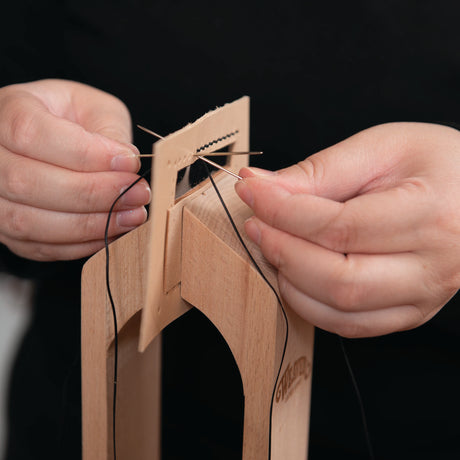
To make sure your leather work apron looks top-notch, you're going to need some Ritza Tiger Thread (0.8mm) in a color that speaks to your soul. Trust us, the right thread color can take your apron from "meh" to "wowza" in no time. And don't forget your John James Saddler's Harness Needles! Once you've got all your tools ready, start on the first hole closest to the throat of your pocket and use one needle to accomplish the basic saddler's stitch.
Here's a pro tip: don't use too much tension when stitching lighter-weight leather like this, or you'll end up with an unwanted ripple effect. Instead, every third stitch, grab your apron at the top and pull down longways with your thread to tighten it. Sew around the pocket (excluding the throat) and then move on to the next two holes (one through the pouch and one out).
When you reach the last hole outside the pouch, don't tighten it down just yet. On the front side, go through the first ply. On the backside, go back one hole and go through the back ply alone so your needles come out on the inside, where you can hide the knot.
Now it's time to tie a square knot. Right hand over left hand, circle and draw that knot down into the pocket. Then, left hand over right hand, circle and draw that knot down into the pocket. Take your knife and pull the thread across it instead of trying to cut into the leather. This way, you'll trim the thread off nicely and the cut end will tuck into the chest pocket. Repeat the same process for the other two pockets.
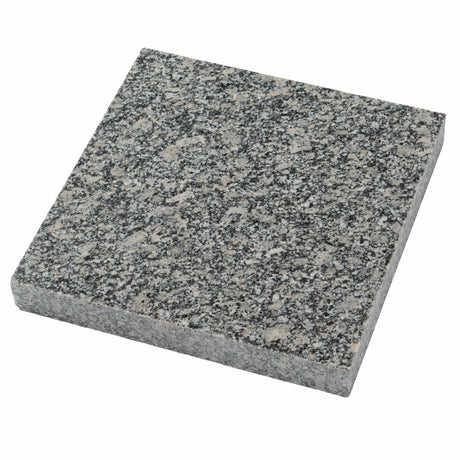
Last, step over to your marble slab and tap down your stitch line to make it set in nicely. This will give your stitch a consistent look that will make everyone think you've been leatherworking for years.
Look at that. You've unlocked the next level: adding pizzaz with the brass!
The Brass Hardware Is A Cinch
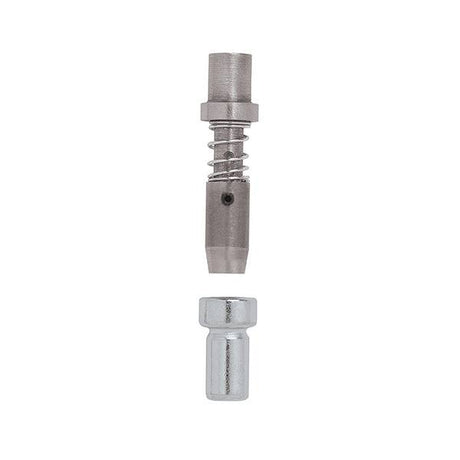
Adding brass hardware to your leather shop apron is a game-changer! Not only does it make your apron look more professional, but it also adds a touch of sophistication to your work. But wait, before we jump into the brass hardware world, let's make sure we have all the supplies we need. You will need solid brass 3/4" D's, a billet, a D-ring, double cap rivets (our favorite solid brass rivet), and a 1/4" double cap rivet for the strap.
Now that we have all the supplies, it's time to dive into the process!
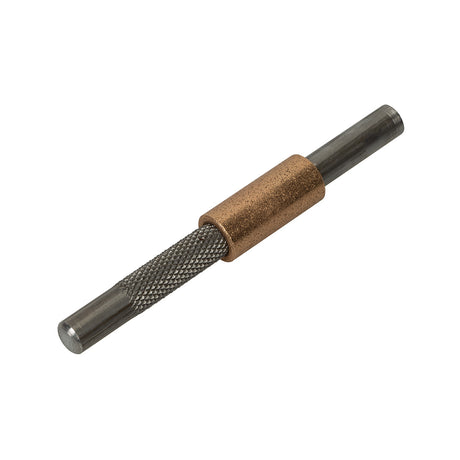
First, turn your billet over and place the male ends of the two 5/16" brass rivets up through the leather. Then, push the male ends through the bottom of your apron. But wait, there's more! Slide the D-ring on, seat the top of the billet down, and put a cap on each rivet. Easy-peasy!
Let's move on to the straps. Run the long strap through the D-ring and seat the two 1/4" solid brass double cap rivets into the strap. After that, place the top of the strap over those male ends. Then, drop in the two caps and set them to create your secure closure. Follow these same steps on the other side of your waist and the two at your neck.
And just like that, you have added some serious class to your leather work apron! But don't forget to double-check your work and make sure all the hardware is secure. After all, you want to be confident this DIY leather apron can withstand the daily grind of your work in style!
Ready, Set, Sew: Your New, DIY Leather Apron Awaits!

Now you can see, making a leather work apron is indeed simple, clean, and easy, and there are unlimited possibilities to make it your own. The best part is you can put the pockets wherever you want to ensure all of your preferred tools are safe and secure!
Using a lighter 3-4 ounce leather will keep you comfortable and is perfect for leather crafters who are only trying to protect against dye, antiques, or topcoat. However, if you're forging or welding, you may want to jump up to a 4-5 ounce leather for that extra layer of protection.
Just remember to keep it comfortable, and you'll be happy with your choice. With a little patience and creativity, you'll have a polished and functional leather shop apron in no time!
Suggested Products ↓
-


-


-

John James Saddler's Harness Needles
From $9.80 Sold by 25 packUnit price /Unavailable -


Water Buffalo Leather, Crazy Horse, Side
From $60.00Unit price /Unavailable -

 From $20.50Unit price /Unavailable
 -


-
 $35.00Unit price /Unavailable
 -
 Sold out
Fiebing's Leathercrafter's Cement
$6.25Unit price /Unavailable -
 $6.50Unit price /Unavailable
 -
 $21.50Unit price /Unavailable
 -
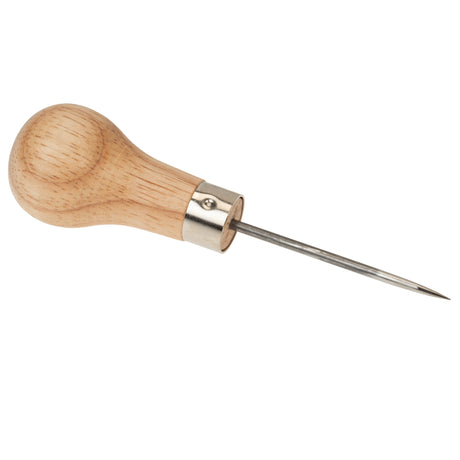
Scratch Awl with Wooden Handle
$6.70Unit price /Unavailable -


 From $1.00Unit price /Unavailable
 -
 From $52.00Unit price /Unavailable
 -


 From $18.50Unit price /Unavailable
 -
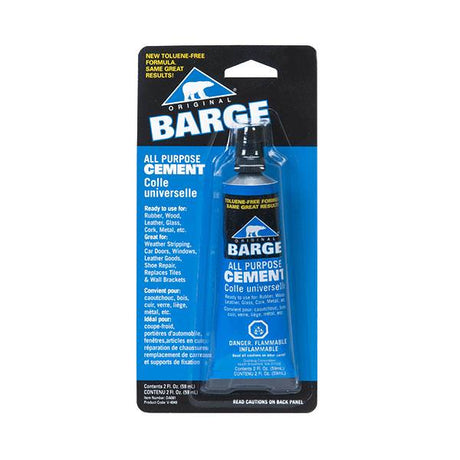
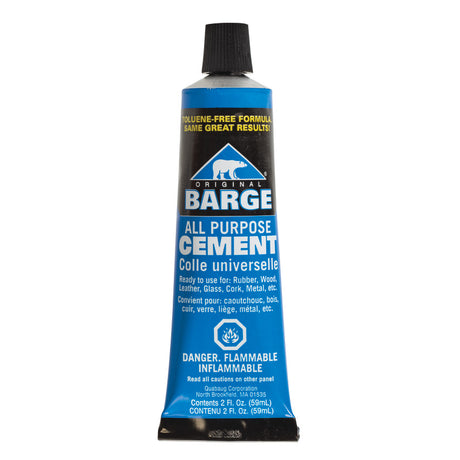
Barge All Purpose Cement 2 oz.
$7.39Unit price /Unavailable -
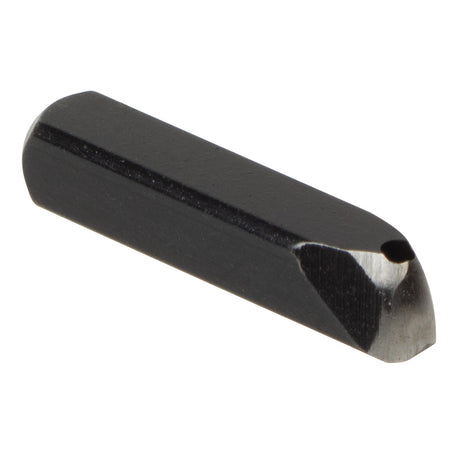
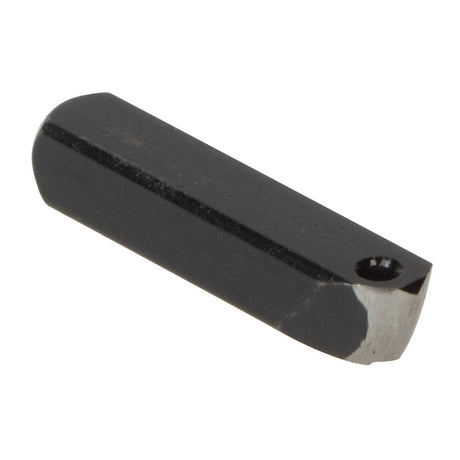
Replacement Blade for Stitch Groover
$12.80Unit price /Unavailable -
 From $85.00Unit price /Unavailable
 -
 $110.00Unit price /Unavailable
 -

 From $96.00Unit price /Unavailable


Crystals, Beads & Spots
View all-

 From $12.50 Sold per hundredUnit price /Unavailable
 -
Heritage® Individual Spot Setters
$21.75Unit price /Unavailable -


 From $11.90 Sold per hundredUnit price /Unavailable
 -
 $20.00Unit price /Unavailable
 -


-


 $88.00Unit price /Unavailable
 -


 From $11.90 Sold per hundredUnit price /Unavailable
 -

#1101 Spots Solid Brass, 3/16"
$7.00 Sold per hundredUnit price /Unavailable


