Create a Stylish Hipster Bag with Julie from Moss Bags
Beauty meets function in this 3-in-1 bag from Julie Simon, owner and founder of Moss Bags. You can wear this ingenious design as a crossbody bag, a fanny pack, or remove the belt to transform it into a chic clutch bag on the fly. One of our favorite minimalist leather bags right now, this leather project is great for makers of all skill levels.
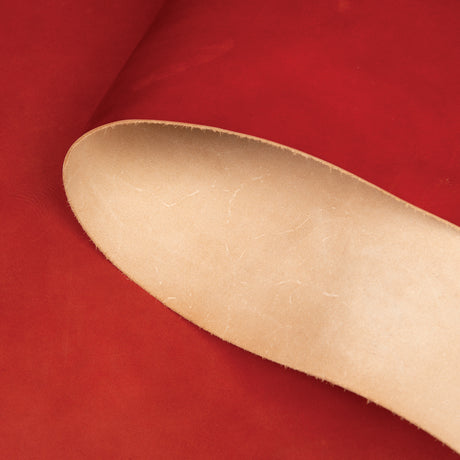
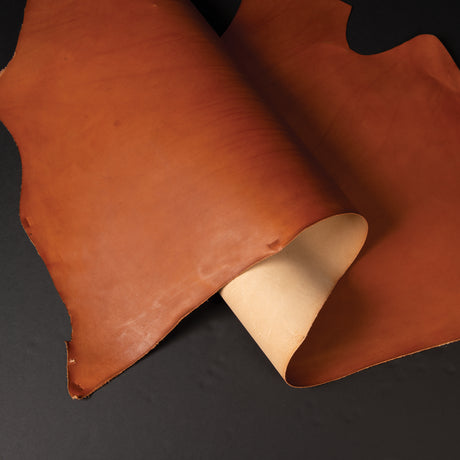
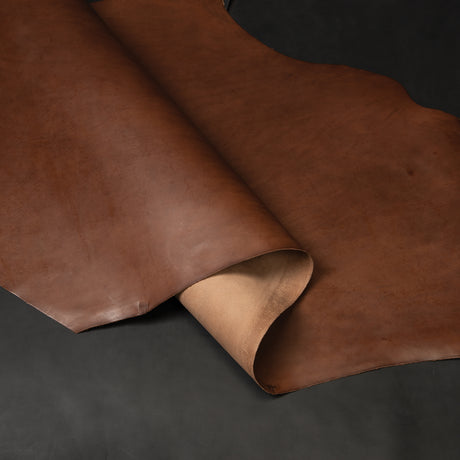
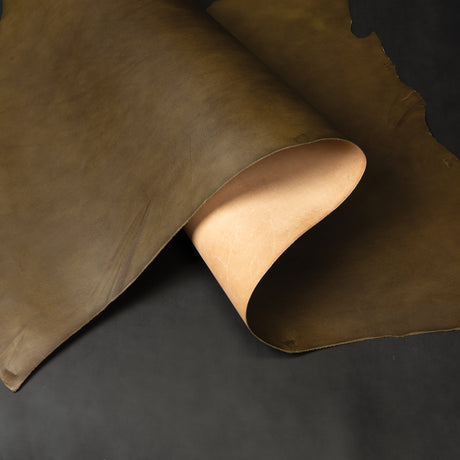
Starting with gorgeous Sao Paulo shoulders from Weaver Leather Supply, Julie adds brass hardware for a modern, yet timeless hipster bag you'll reach for time and time again. With Julie's easy-to-follow steps and your creativity, you'll be poised to make your own bag that will take you through this season and beyond.
3-in-1 Hipster Bag Project Supplies:

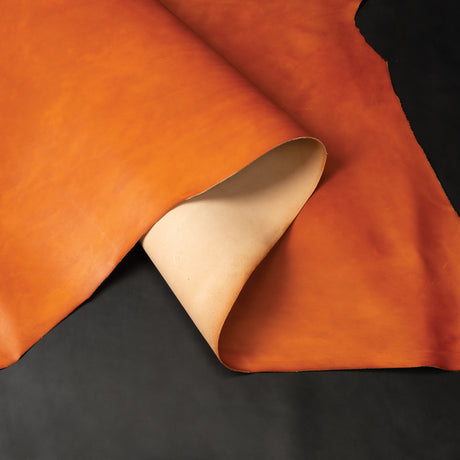
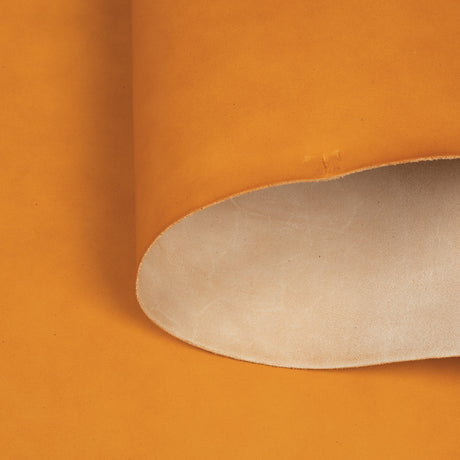
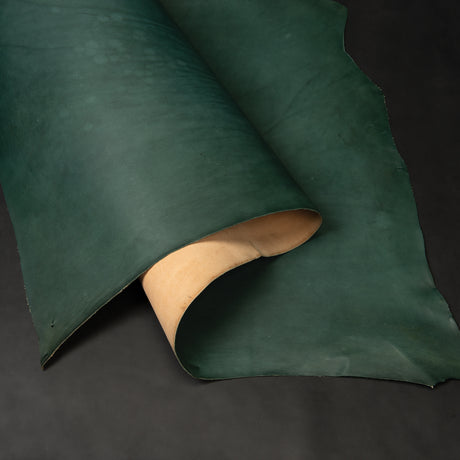
- Sao Paulo Shoulders, Cactus, 3-4 oz. - 100% veg tanned leather has a sophisticated matte finish and the perfect amount of body for more structured bags. Julie chose our beautiful cactus color, but be sure and explore the entire color palette to choose your personal favorite!
- Water Buffalo Belt Blank, Black, 8-9 oz. - Julie's go-to choice for bag straps, these belt blanks are ready-to-go with professional beveled edges.
- Fiebing's Leather Cement - High performing formula is fast drying, making it a perfect adhesive to keep pockets in place prior to sewing.
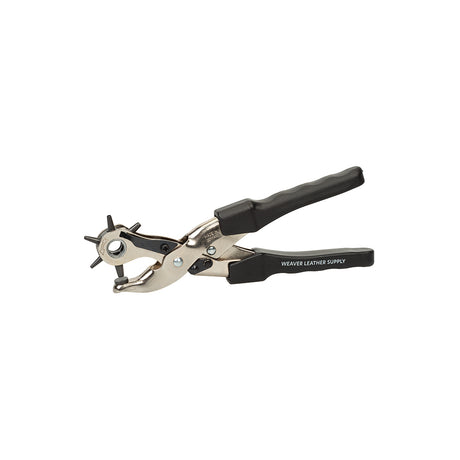
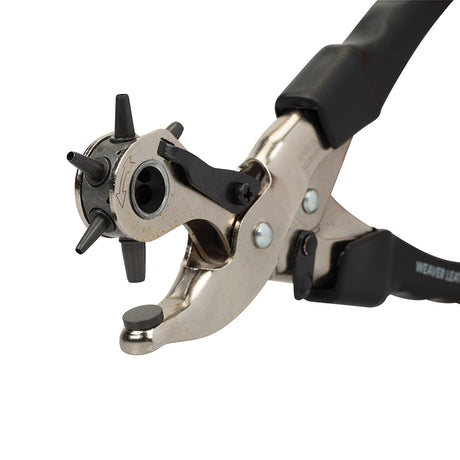
- Heritage® Compound Action Revolving Punch - With 70% more power than your average punch, this punch offers excellent cutting performance with less pressure on your hand and forearm.
- D-Rings, Solid Brass, 1-1/4" - Durable and beautiful, these d-rings add the perfect gleaming touch.
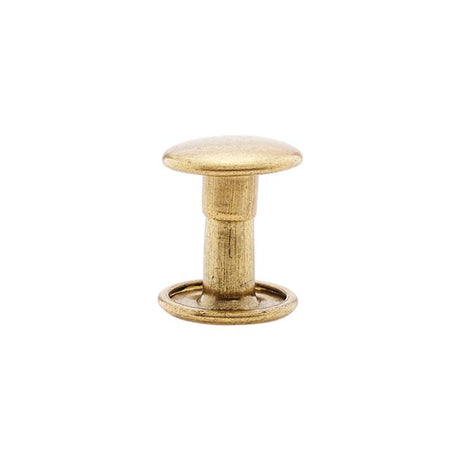
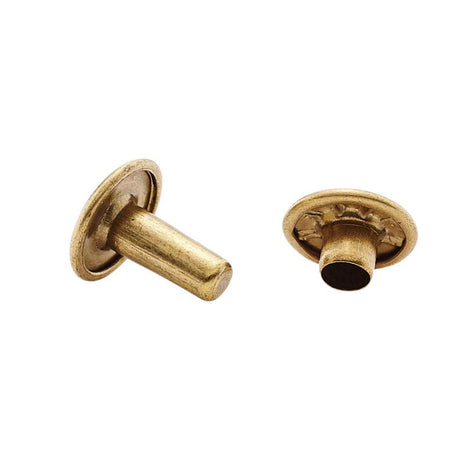
- Double Cap Rivets, Solid Brass - Offer refined, modern style with a finished look on both sides.
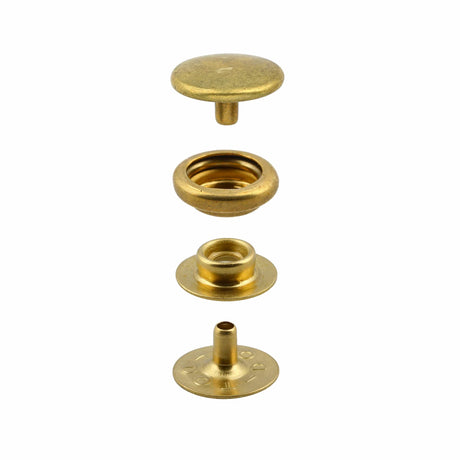
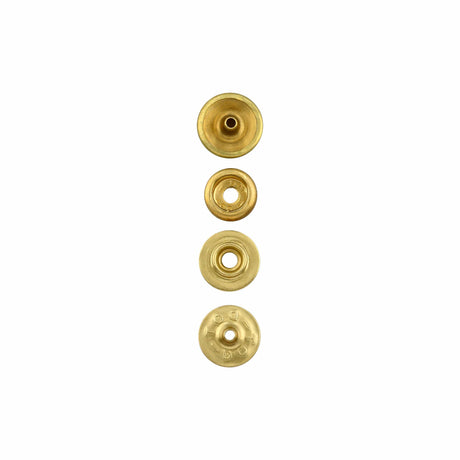
- Ligne 20 Snap Set, Solid Brass - Perfect for lighter weight leather projects from 2 to 6 oz.
1. Getting Ready to Make Your Own Bag:

Cut the Following Pieces from Sao Paulo Leather:
Bag Main Body: 11" x 14"
Interior Pocket: 4" x 6"
Belt Attachments: 1" x 4-1/4"
2. Punch Holes:

Use the Heritage® Compound Action Revolving Punch to punch holes in the Belt Attachments, the Main Body of the bag and the Interior Pocket.
3. Apply Fiebing's Leather Cement:
Apply a thin line of cement to the edges of the Interior Pocket and place on the inside of your bag's Main Body.

4. Sew Interior Pocket:
After the cement has had time to set, you're ready to stitch your Interior Pocket to the inside of the Main Body.

5. Set Double Cap Rivets and Ligne 20 Snap
Add the Belt Attachments to the bag's Main Body using four Double Cap Rivets and set the Ligne 20 Snap on the bag's flap.

6. Secure Sides of Bag with Fiebing's Leather Cement and Stitch:
Apply a thin line of cement to your bag's seam allowance, let dry, and stitch.

7. Cut Belt Blank:
Simply cut the 1-1/4" belt blank to 55" length.

8. Add D-Rings:
Slide two 1-1/4" Solid Brass D-Rings onto belt blank, fold over blank, and secure with two Double Cap Rivets.

Your Completed 3-in-1 Hipster Bag is Ready to Enjoy!
With the versatility to wear as a crossbody, a fanny pack or a clutch, this design will become a fast favorite! If you're searching for another modern leather goods project from Julie, be sure to also check out her Mini Crossback Bag.
 |
 |
 |


