Leather Purse
Leather Bag Patterns - Intro
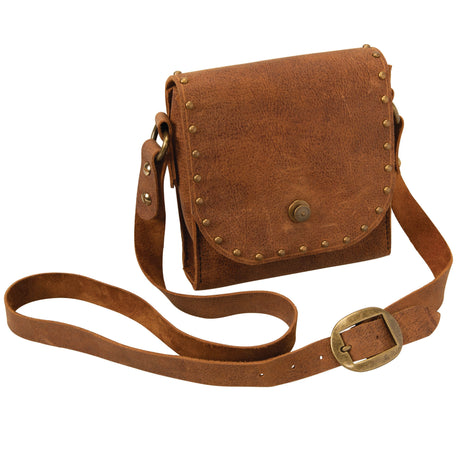
Join us as we create a beautiful rustic leather purse and learn leather crafting skills needed to create our own patterns for different styles of leather bags. These lessons are not about recreating the specific purse in the video, but learning how to make patterns and the basic leather crafting techniques needed to make leather purses, bags, totes, pouches, and more. With these skills, you'll be able to build a leather bag that's perfect for you.
We will learn how to draw our patterns from scratch, how to make gussets, how to add hardware to our bag, and how to easily hand sew our leather for results that look just like a machine stitch. The takeaway from this project is how to create a custom leather bag pattern, and common elements that can be incorporated into a variety of bag styles. Once you know the basic techniques, the sky is the limit with creative possibilities.
Note: The video above will allow you to reach all of the chapters listed below, so you can view Chuck's processes and advice.
Chapter 1: Creating a Pattern for a Leather Purse
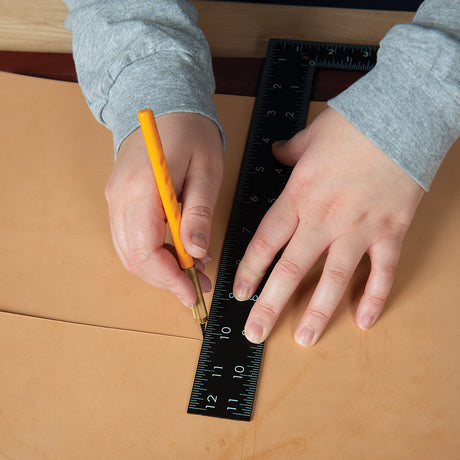
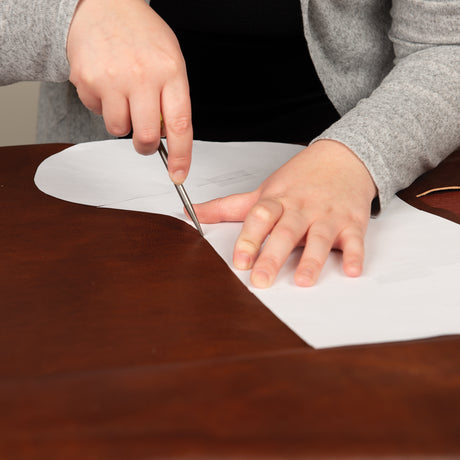
When we start almost any leather project, we need to begin by creating a pattern.
Chapter 2: Cutting the Leather for a Purse
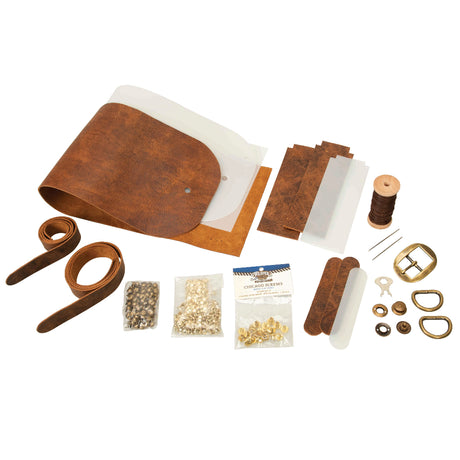
Now that we have our pattern, we can begin cutting our leather. We are using our 5 oz. Crazy Horse Water Buffalo hide for this tutorial. This leather is supple, yet heavy enough to hold our decorations and embellishments.
A helpful tip is to block off your leather before cutting. This means that if you're working with a full hide or side, you can cut it down into a more manageable piece. It can be tough to manipulate a full hide on your work table. Set aside your scrap leather to use later or for other projects.
Pro tip:
Chuck recommends that whenever you buy a full hide, side or double shoulder, cut about 5-6 inches off along your longest edge. This ensures that you always have length available if you need it.
Chapter 3: Adding Spots to a Leather Purse
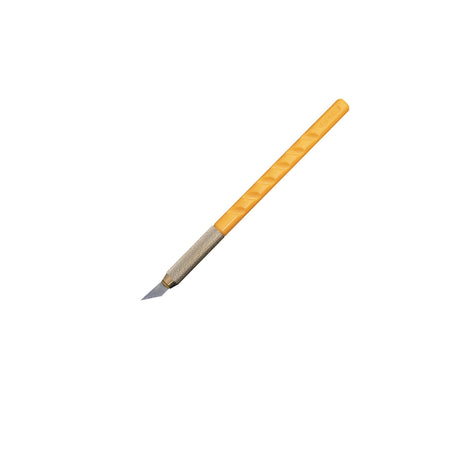
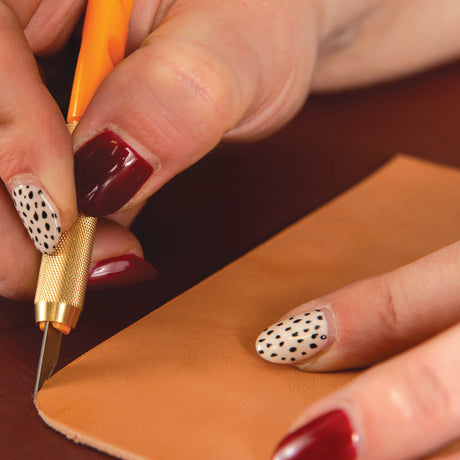
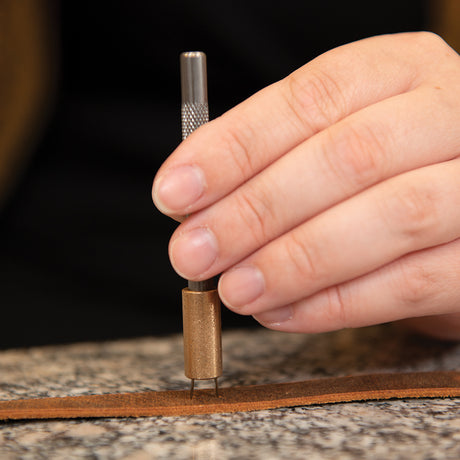
Now we're going to add our spots for our purse. Spots are inexpensive and super easy to set. All you need is a craft knife and some cardboard. You can use spots to upgrade projects you made years ago, or even personalize something you bought from a store to make it your own.
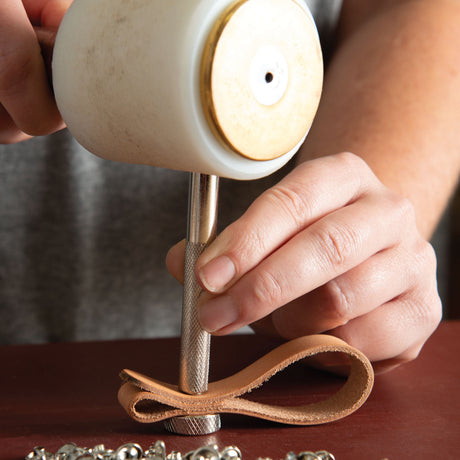
There are quite a few options when it comes to setting spots. We can use the Little Wonder to set all manner of spots, rivets,grommets, eyelets, and more. Or we can use a hand setter, which is smaller and more affordable than the Little Wonder, but keep in mind that a hand setter is size specific. However, for this tutorial, we're going to use Chuck's favorite method for setting spots. All you'll need is a craft knife and a small pallet made from a few layers of cardboard taped together.
Chapter 4: Hand Sewing a Leather Purse
We are going to hand sew our purse. This can be done easily in around 30 minutes for a stitch line that looks just as good as a machine stitch.
Chapter 5: Assembling a Leather Purse
Now that we finally have all of our pieces, we can put them together and assemble our leather bag. Once this is completed, youll be able to enjoy your finished leather bag. You'll also have the knowledge and skills you need to design other leather bag patterns, and build more beautiful leather bags for friends, family, and even yourself!
Tools and Materials Used in This Project
-
$58.00Unit price /Unavailable
-
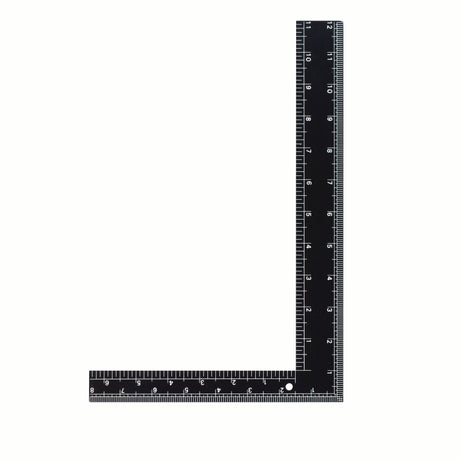
12" x 8" Steel Square with Non-Slip Tape
$15.60Unit price /Unavailable -
$21.50Unit price /Unavailable
-
#4 Heavy-Duty Scratch Awl 3-1/2"
$7.80Unit price /Unavailable -
$11.60Unit price /Unavailable
-
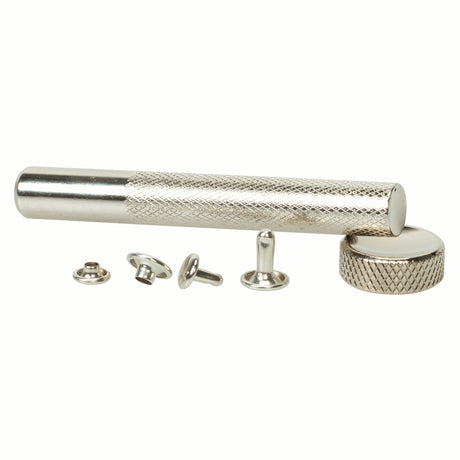
#2200 Double Cap Rivet and Insta-Rivet Setter
$3.76$4.70Unit price /Unavailable -
$58.00Unit price /Unavailable
-
$17.40
$21.75Unit price /Unavailable -
From $85.00Unit price /Unavailable
-
Master Tool Oblong Leather Punch
From $110.00Unit price /Unavailable -
From $11.10Unit price /Unavailable
-
Master Tool English Point Punch
From $78.10Unit price /Unavailable -
$17.60Unit price /Unavailable
-
$390.00Unit price /Unavailable
-
$30.75Unit price /Unavailable
-
$35.00Unit price /Unavailable


